As the world increasingly focuses on sustainability, the demand for solar energy is growing. Solar panels, an essential component of renewable energy systems, are becoming more accessible, with DIY solar panel kits gaining popularity among homeowners and enthusiasts. These kits offer an affordable and efficient way for beginners to embrace solar power, reduce energy costs, and contribute to a greener planet. In this article, we’ll explore the benefits of DIY solar panel kits, how they work, what to look for in a kit, and the installation process for beginners.
The Benefits of DIY Solar Panel Kits
DIY solar panel kits are an excellent starting point for anyone looking to dive into renewable energy. They provide several advantages, both financially and environmentally:
1. Cost-Effective Alternative
One of the main reasons people opt for DIY solar panel kits is the cost-saving aspect. Professional solar panel installations can be expensive due to labor costs and additional equipment fees. With a DIY kit, you pay only for the components, which are often much more affordable. Additionally, you can install the system yourself, avoiding the costs associated with hiring contractors.
2. Customization
DIY kits allow you to customize your solar power system based on your specific needs. Whether you're looking to power a small shed, charge a battery, or supplement your home’s electricity, you can choose a kit that matches your power requirements. This level of flexibility ensures that you don’t overpay for unnecessary features.
3. Learning Opportunity
Building your own solar panel system offers an invaluable learning experience. As you assemble the components, you'll gain a deeper understanding of how solar power works, including the electrical connections and the energy conversion process. This knowledge can be useful for future projects or even when troubleshooting issues.
4. Environmental Impact
By switching to solar energy, you reduce your reliance on fossil fuels, which contributes to reducing greenhouse gas emissions. DIY solar kits empower individuals to take control of their energy use and make a positive environmental impact. Even small solar systems can make a difference when it comes to reducing your carbon footprint.
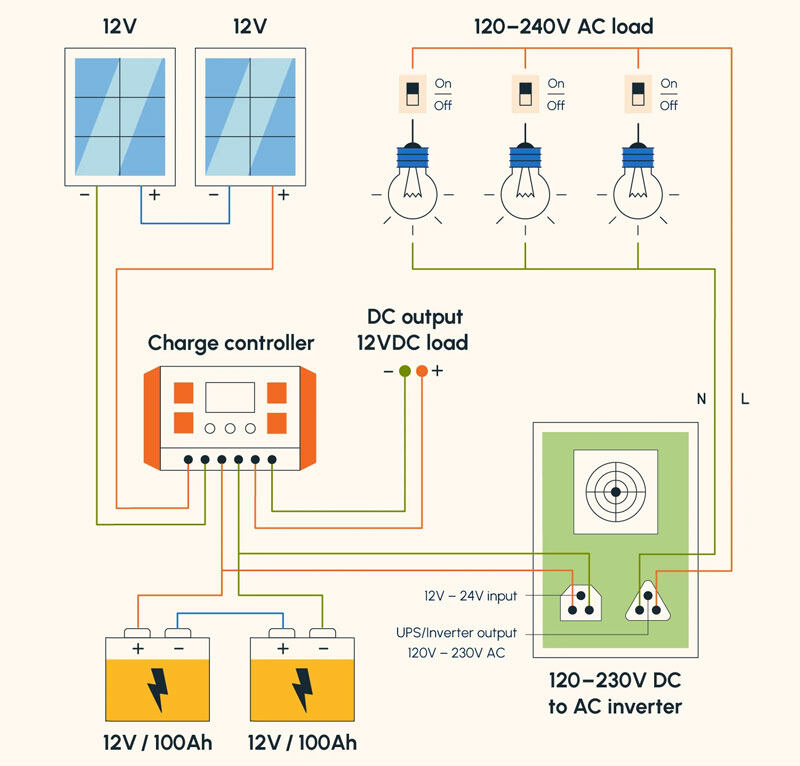
Solar wiring diagram for24V system (in series)
How DIY Solar Panel Kits Work
At their core, solar panel systems work by converting sunlight into electricity using photovoltaic (PV) cells. DIY solar panel kits include the essential components needed for this conversion. These typically include:
-
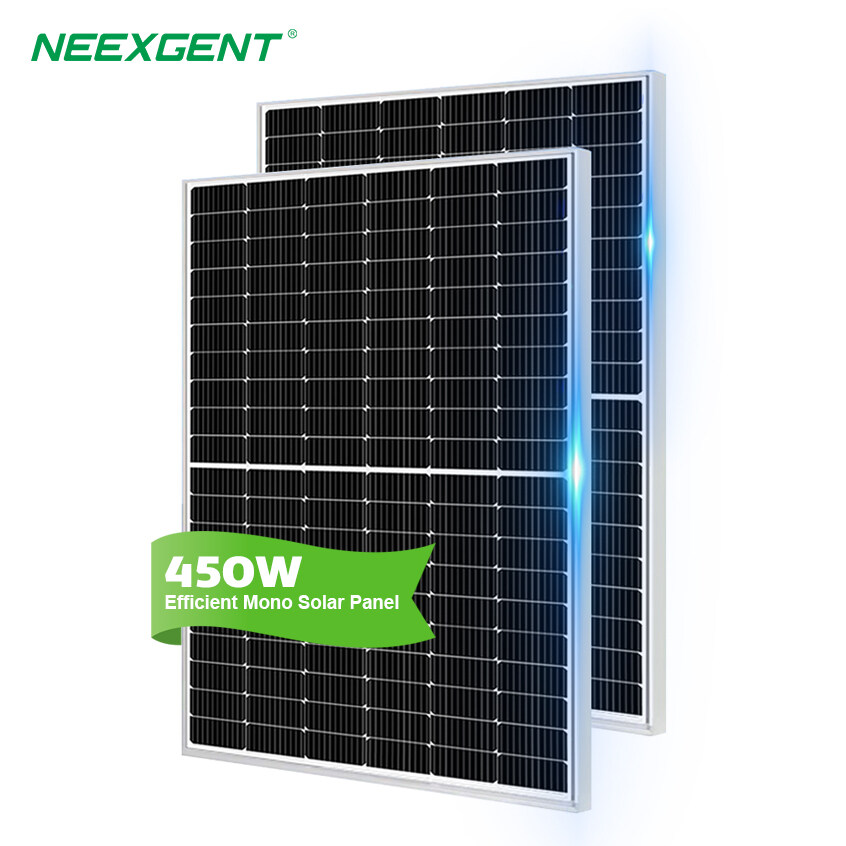
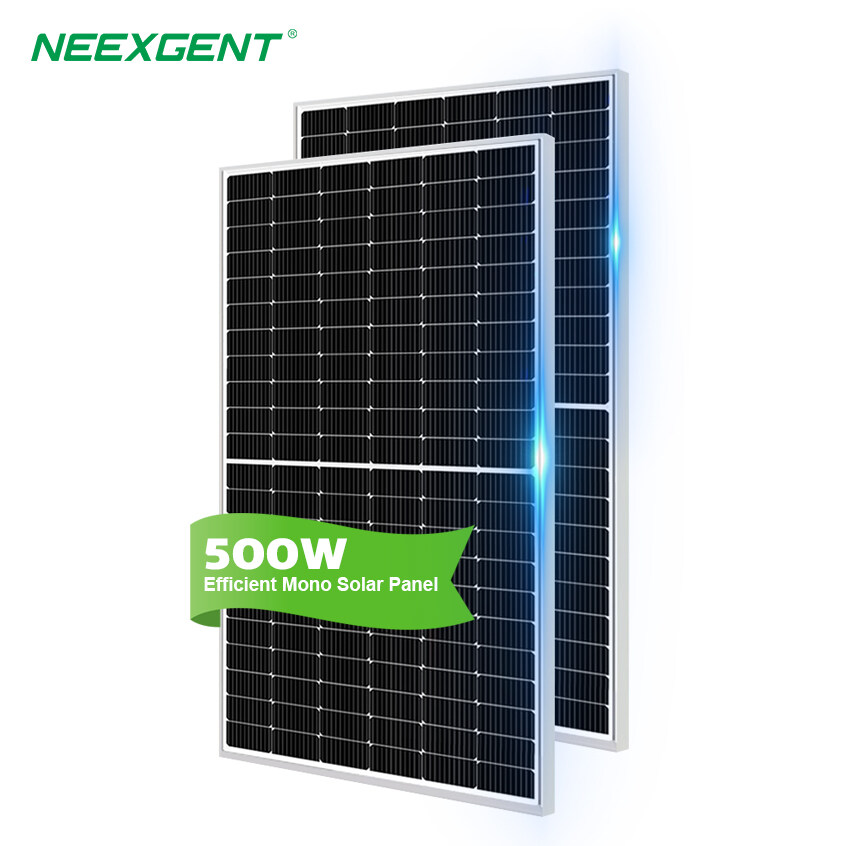
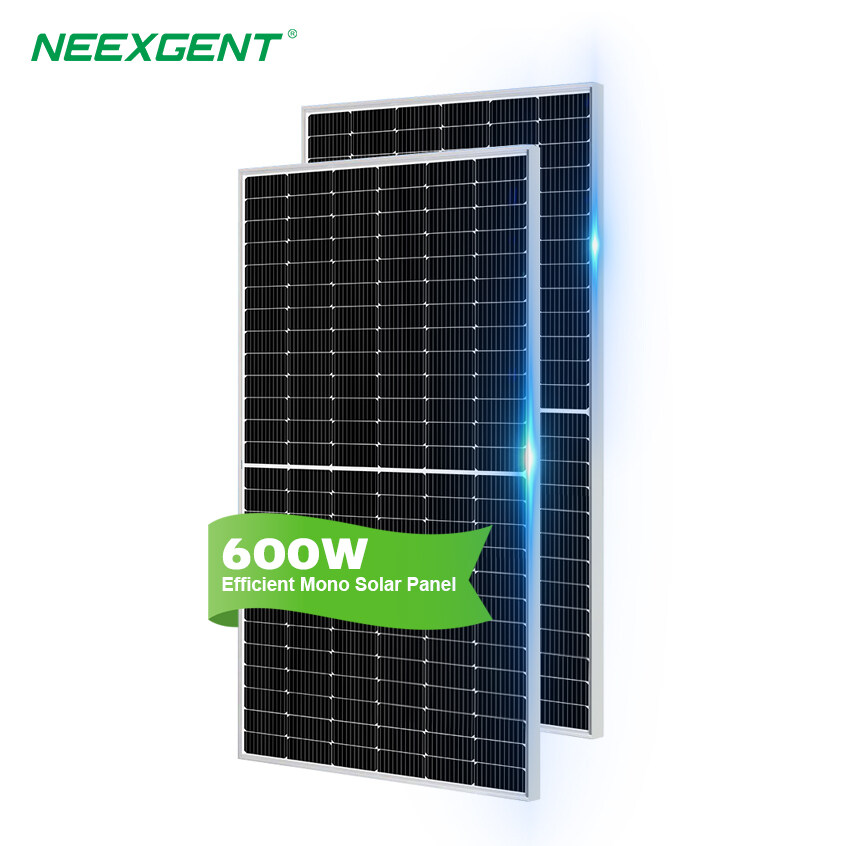
Solar Panels: The primary component that captures sunlight and converts it into direct current (DC) electricity.
-
Charge Controller: Regulates the flow of electricity from the solar panels to the battery, preventing overcharging.
-
Inverter: Converts DC electricity from the solar panels into alternating current (AC) electricity, which is used to power household appliances.
-
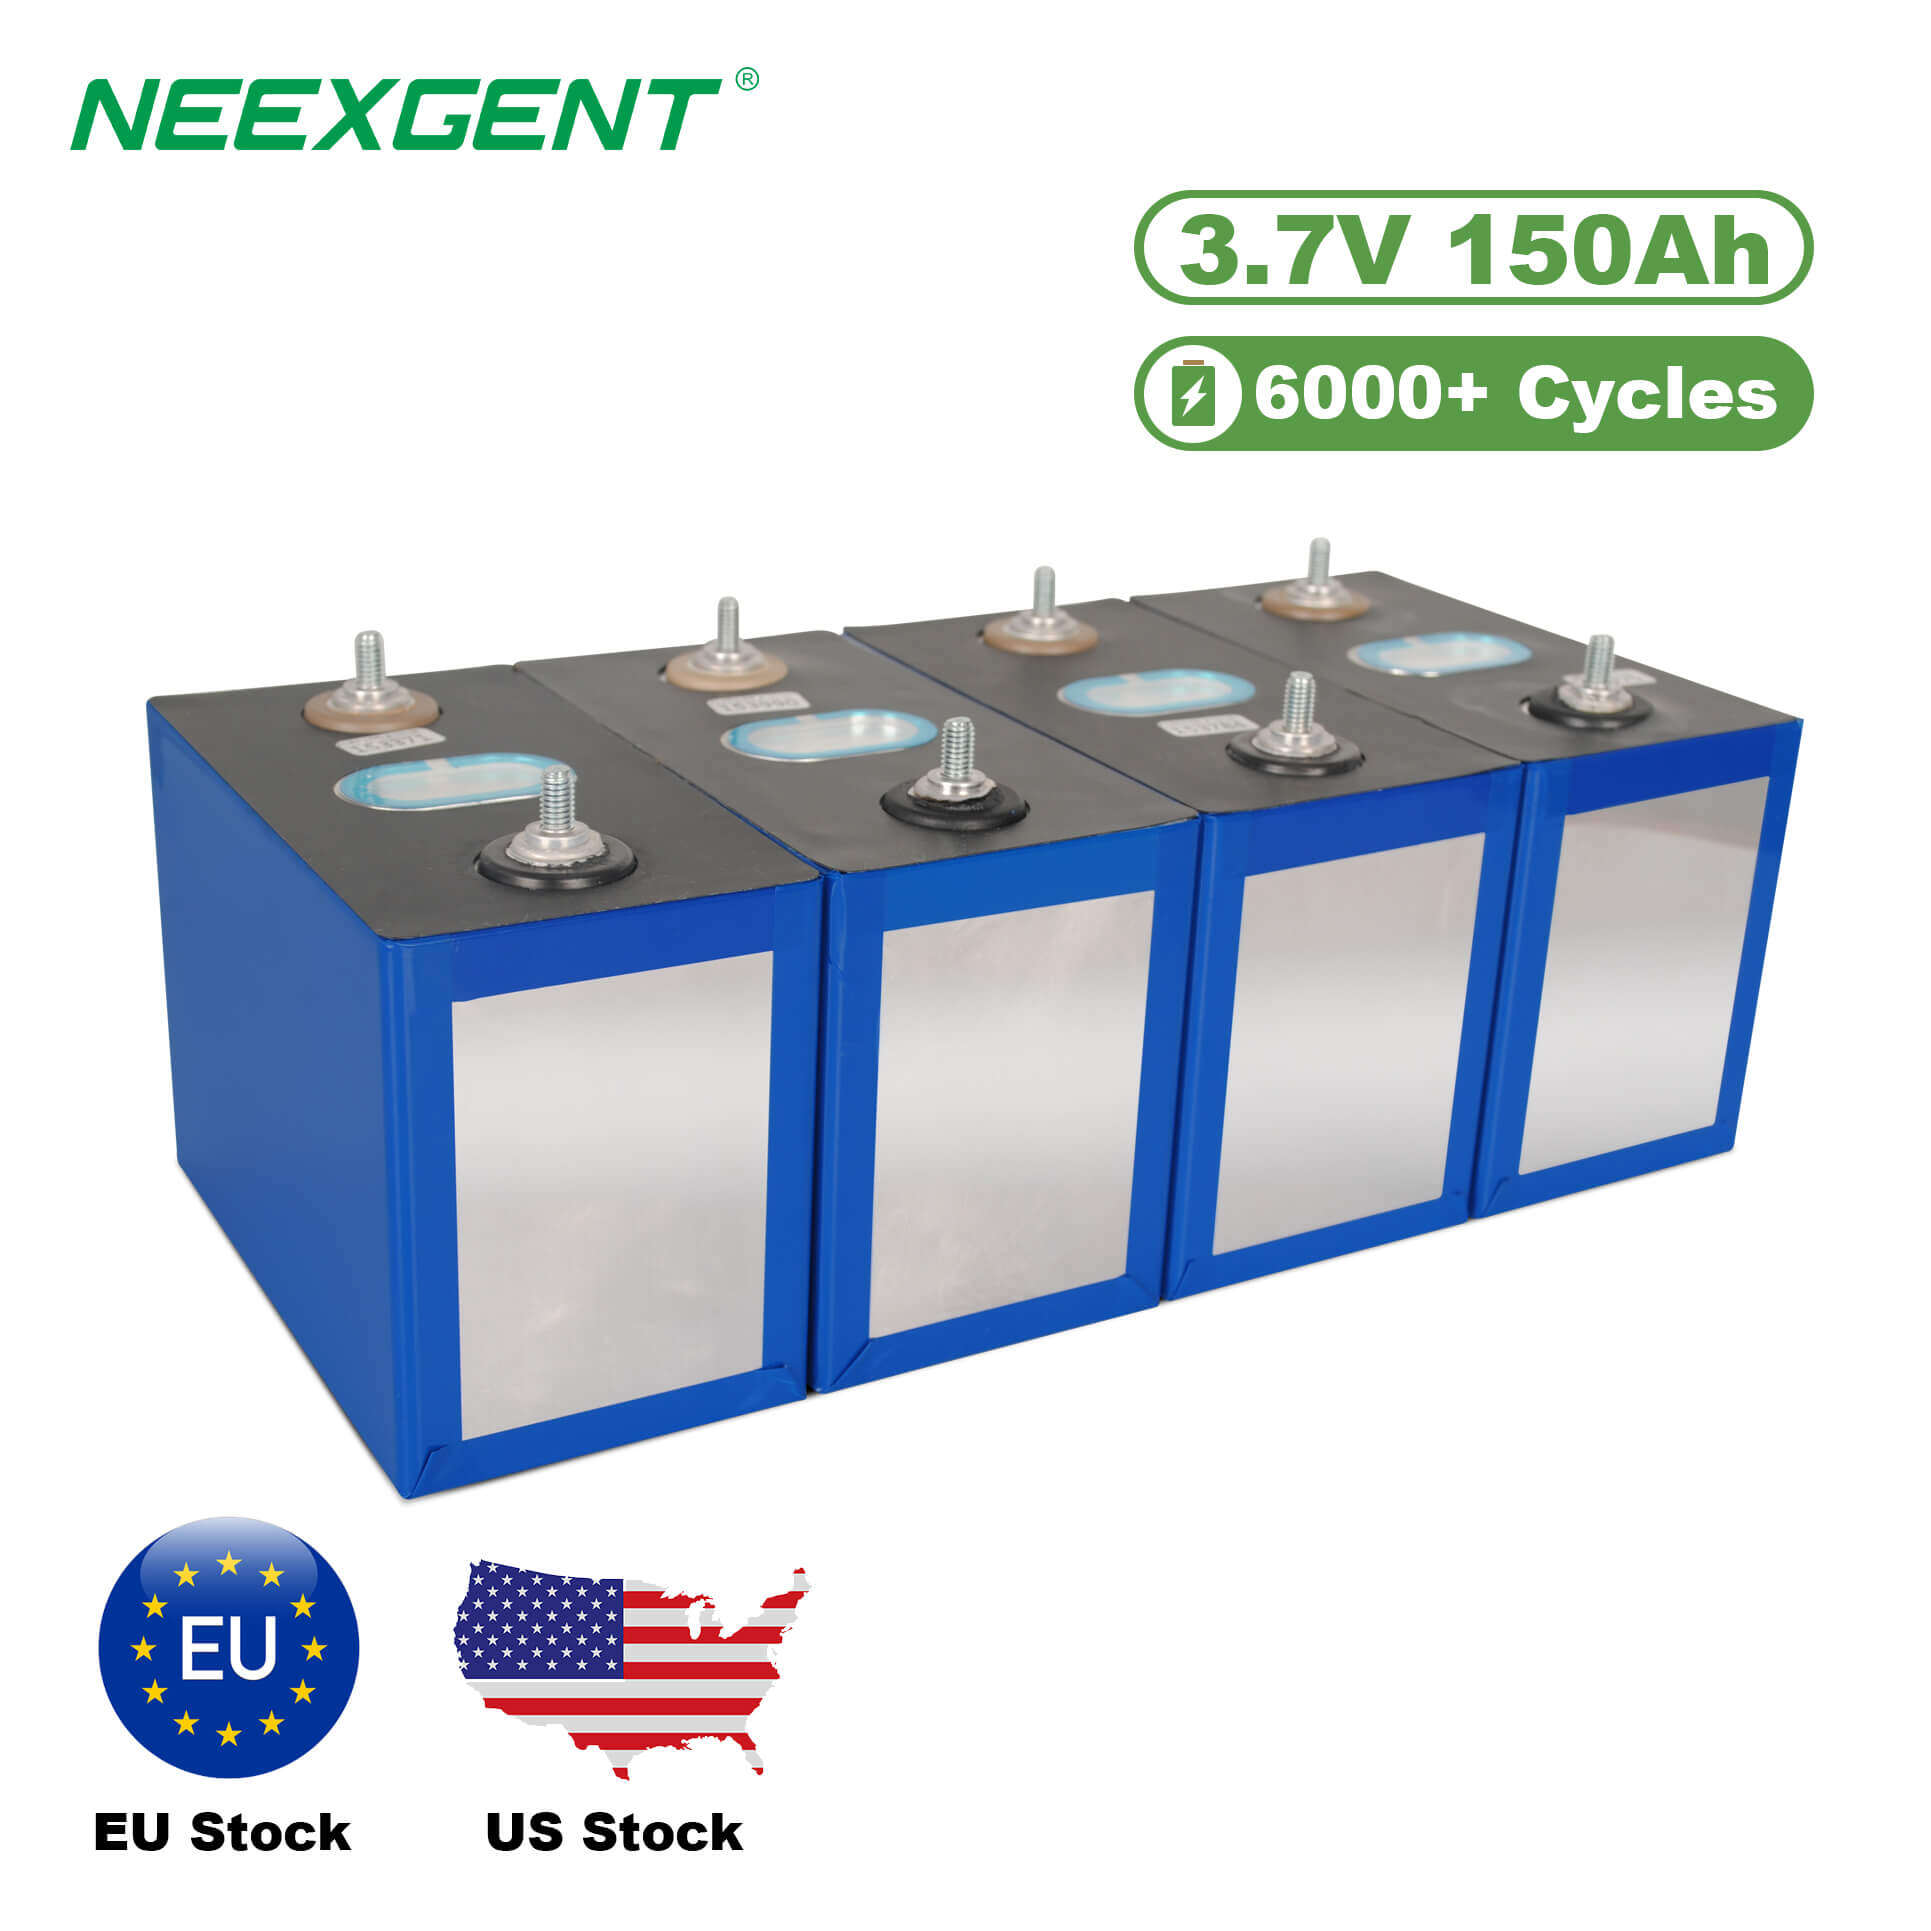
Batteries (optional): Store excess energy for use during cloudy days or nighttime.
-
Wiring and Mounting Equipment: Connects all the components and secures the panels in place.
Each component plays a critical role in the overall system, ensuring that energy is captured, stored, and used efficiently.
Choosing the Right DIY Solar Panel Kit
When selecting a DIY solar panel kit, there are several factors to consider to ensure that you get the most suitable system for your needs. Here are some key aspects to look for:
1. Power Output
The first consideration is how much electricity you need to generate. DIY kits come in various sizes, ranging from small systems that generate a few watts to larger systems that can produce hundreds of watts. To determine the right power output, assess your electricity needs. For example, if you're looking to power lights and small appliances in a cabin or shed, a smaller kit may suffice. However, if you want to supplement the energy for your home, a larger system may be necessary.
2. Battery Storage
If you want to store energy for use when the sun isn’t shining, make sure your kit includes battery storage or has the option to add batteries. Some kits are designed for off-grid applications, while others are designed to complement your existing grid power. A battery can help you store excess energy for later use, especially if you're in an area with inconsistent sunlight.
3. Efficiency of Components
Look for kits with high-quality components to ensure long-term reliability and performance. Solar panels with a high efficiency rating will capture more sunlight and generate more electricity. The inverter should be reliable and capable of handling the power output from the solar panels. Additionally, a good charge controller will prevent overcharging and protect the battery from damage.
4. Ease of Installation
Since you're a beginner, it's important to choose a kit that is easy to install. Many DIY kits are designed to be user-friendly and come with detailed instructions, often with online resources such as video tutorials. Check the reviews to see how other customers found the installation process and if they encountered any difficulties.
5. Warranty and Support
A good warranty and customer support system can give you peace of mind. Since solar systems are a long-term investment, look for a kit that offers a solid warranty on the panels, inverter, and batteries. Additionally, make sure the company provides adequate customer service in case you have questions or issues during installation.
Step-by-Step Guide for Installing Your DIY Solar Panel Kit
While installing a DIY solar panel kit may seem like a daunting task, it is very manageable with the right tools and instructions. Here’s a simple step-by-step guide to help you through the process.
1. Gather Tools and Materials
Before you begin, make sure you have all the necessary tools. You’ll typically need a drill, screwdriver, wire stripper, wrench, and voltmeter. Check the kit’s manual for any specific tools required.
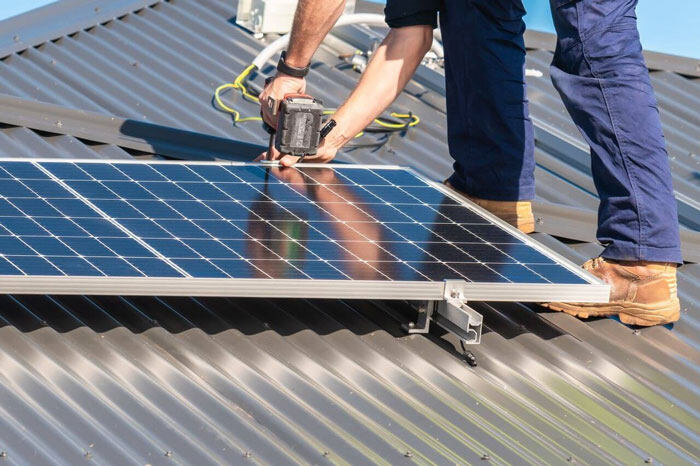
2. Install the Mounting Brackets
Start by installing the mounting brackets for the solar panels. Choose a sunny location with minimal shading throughout the day. The brackets should be securely fastened to your roof or ground frame. Make sure the panels will face south (in the northern hemisphere) to maximize sunlight exposure.
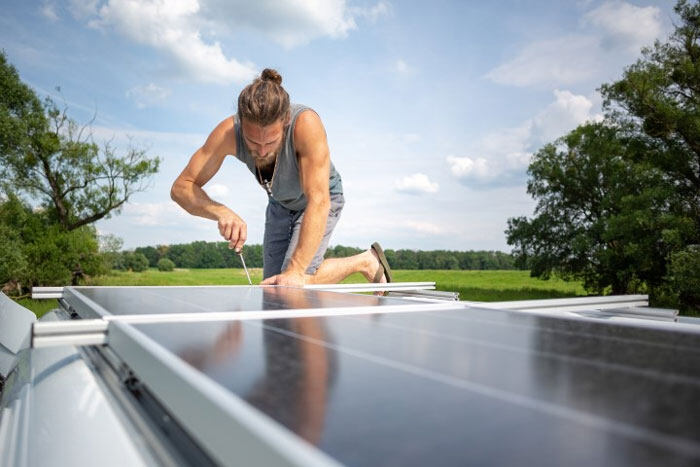
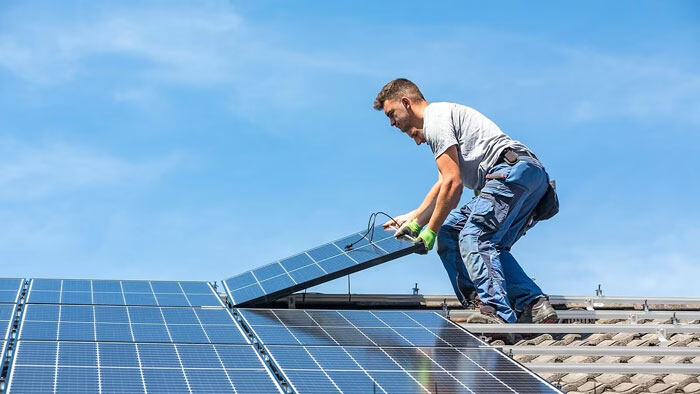
3. Connect the Solar Panels
Once the brackets are in place, attach the solar panels to the mounting frame. Connect the panels in series or parallel, depending on your kit's design. Follow the instructions to connect the wiring from the panels to the charge controller.
4. Install the Charge Controller
Next, install the charge controller, which will manage the flow of electricity from the panels to the battery. Place the controller in a location that is easily accessible for maintenance but also protected from the elements.
5. Connect the Inverter
The inverter will convert the DC power from the solar panels into AC power for use in your home. Connect the inverter to the battery (if using one) and the charge controller. If you’re directly feeding energy to your home, you’ll connect the inverter to your electrical panel.
6. Connect the Battery (if applicable)
If your kit includes a battery for storing energy, connect it to the charge controller and inverter. Ensure that the battery is properly secured and that the connections are tight and safe.
7. Test the System
Before you finalize the installation, check the entire system to ensure all components are connected correctly. Turn on the system and monitor the charge controller to see if the panels are generating power. If you have an inverter with a display, check that it is producing the expected voltage.
8. Monitor and Maintain
Once your system is up and running, regularly monitor its performance. Some charge controllers and inverters offer real-time data on energy production. Regular maintenance, such as cleaning the panels and checking the battery, will help keep the system running efficiently.